Chocolate Cream Pie
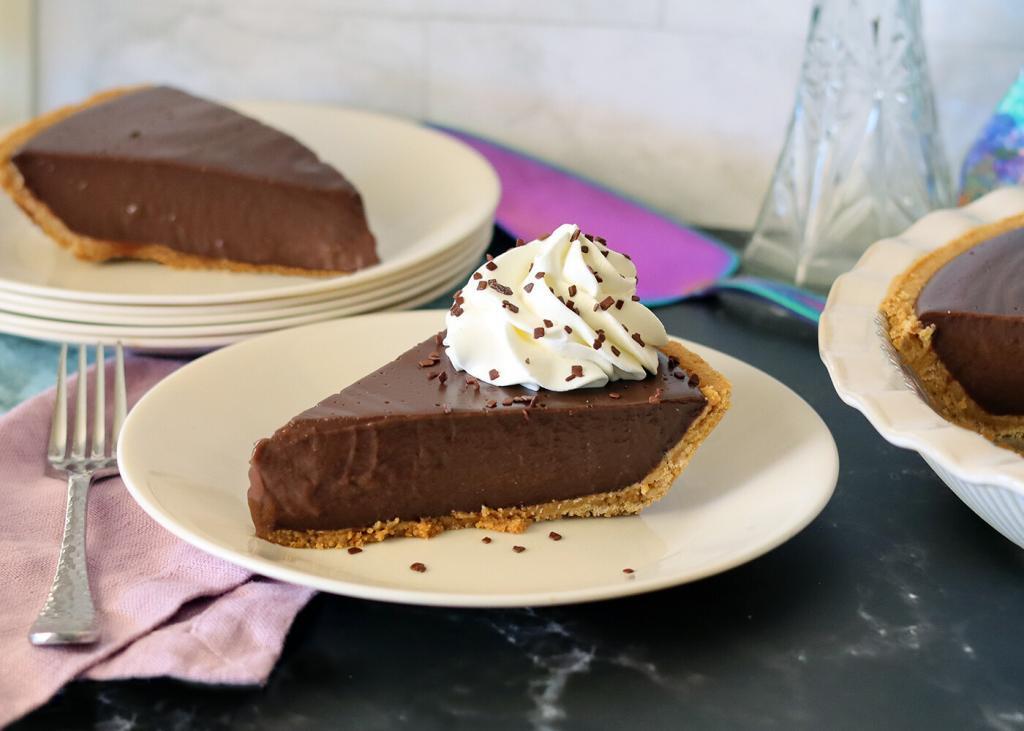
There are endless variations of chocolate cream pie recipes across the internet each featuring slight tweaks to the crust, filling or topping and ranging from semi-homemade to fully from scratch options. But they all share three key features: a buttery crust, a creamy chocolate filling and a light, whipped cream based topping. This week, I’m sharing mom’s semi-homemade classic, chocolate cream pie recipe along with a fully from scratch interpretation.
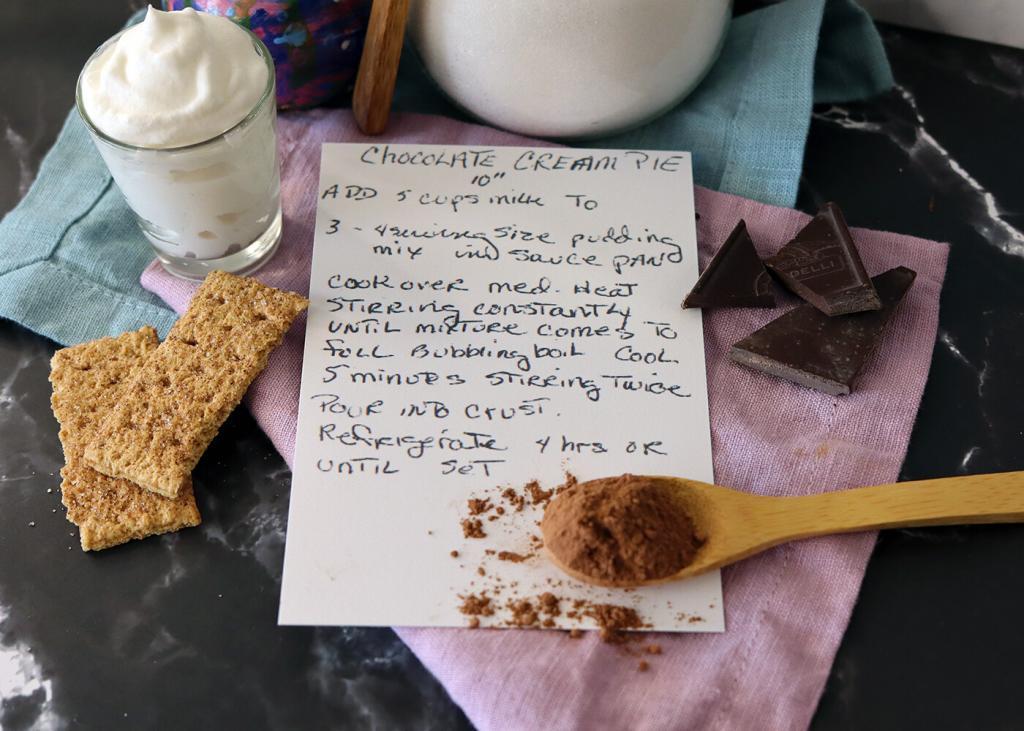
A piece of mom’s chocolate cream pie is like a piece of nostalgia. It calls for the cook and serve version of packaged chocolate pudding mix – she may have used the store brand from time to time, but I distinctly remember her using the Jell-o brand chocolate cook and serve pudding mix. This is the same pudding mix that has been gracing grocery store shelves since the 1930’s, making it a classic flavor that we all instantly recognize.
Today’s Jell-o cook and serve pudding includes a pie recipe on the box that is very similar to mom’s, but it is only published on the family size (5 oz) packaging while mom’s recipe uses three of the smaller (3.4 oz) packages. The pie instructions on the Jell-o box say to use the same preparation method as for the regular pudding, but mom’s recipe reduces the milk used for the pudding preparation by just over 16% ensuring a more stable pie filling. Mom smoothed her creamy, chocolatey filling into a 10-inch ready-made graham cracker crust (providing a couple of extra servings over the more common 9-inch size) making this a simple, quick dessert to add to the holiday table.
Mom never put any whipped cream on the pie itself. She hated whipped cream, so it never went on any of her desserts, but then again she wasn’t a fan of pudding either so this wasn’t one of the desserts that she ever chose for herself. But she always made sure there was Cool Whip or Reddi Wip on the table for anyone that was so inclined. I always loved whipped cream and I especially liked the Reddi Wip because it had a lighter, airier texture than the Cool Whip and it had the added bonus of being fun to dispense.
When my siblings and I were growing up, this was one of my younger brother’s favorite treats that mom made. When we were teenagers, mom started making two of these pies – one for the table and one just for my younger brother (usually post holiday). Later, when he was away at college and after he moved into his own place, she continued to make two of these pies, reserving one for him to take home with him. In more recent years, my brother’s younger son started counting this pie among his favorite desserts that grandma made – apparently love of a classic chocolate cream pie is an inheritable trait!
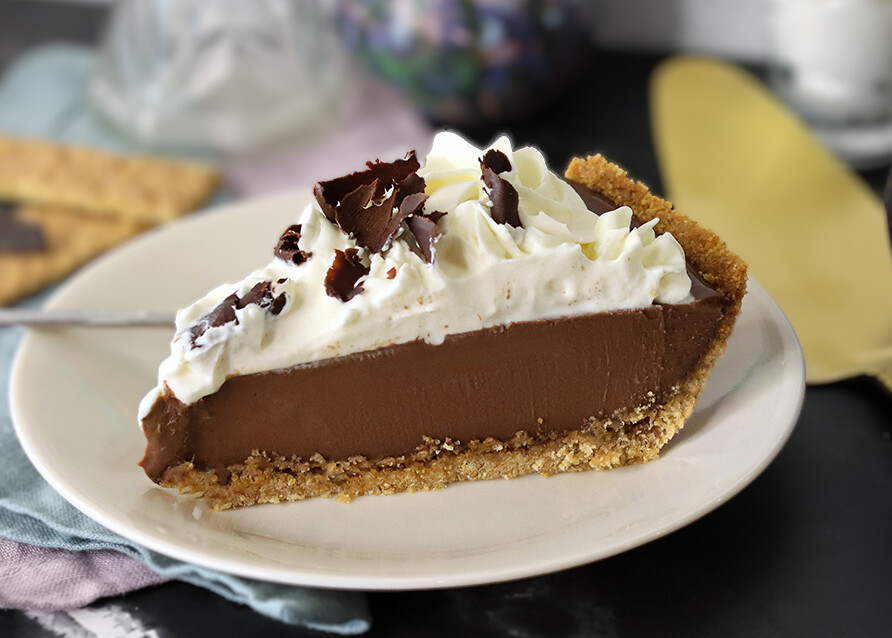
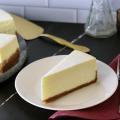
If you are looking for a quick, simple, classic chocolate cream pie recipe that will free up time to focus on other potentially more complicated or time consuming desserts that may be on your holiday menu (I think this was mom’s reasoning), you can’t go wrong with mom’s recipe but I did want to share a fully from scratch recipe option. Providing both options gives you the freedom to use one, or the other, or to mix and match elements from both to suit your available time and menu needs. You may recognize the graham cracker crust from my New York Cheesecake, but the dark chocolate custard and white chocolate whipped cream were created specifically for this recipe.

Chocolate Cream Pie (Semi-Homemade)
Equipment
Ingredients
Method
- Pre-heat oven to 375°F.
- Remove all plastic and paper packaging from the pre-made crust. Place the tin pan containing the crust on a baking sheet in the pre-heated oven for 5-10 minutes until lightly golden.1 10" pre-made graham cracker crust
- Remove from the oven and allow to cool completely.
- Combine the milk and boxed pudding mix in a medium saucepan.5 cups (1.2 l) milk, 3 boxes cook and serve chocolate pudding mix
- Cook, stirring continuously over medium heat until the mixture thickens and comes just to a boil.
- Remove from the heat and allow to cool for 5 minutes, stirring occasionally to prevent a skin from forming on the surface.
- Pour the pudding into the crust, shake the pan gently to help the pudding level (or spread with a spatula). If you don't like a light skin to form on the surface, you can press a layer of plastic wrap directly on the surface (this may cause some odd patterns on the surface of the pie unless you can get the plastic perfectly smooth)
- Refrigerate until set (at least 4 hours) before serving.
- Serve plain, or with dollops of whipped topping.2-3 cups (150 g) pre-made whipped topping
Notes
- I don’t remember mom ever pre-baking the store bought crust for this recipe, so you are welcome to skip that step, but I found that the crust held up better when I pre-baked it.
- Be careful not to over cook the filling, while the flavor is still good the texture is more along the lines of a Jell-o Jiggler which your guests may find a little disconcerting.
- The tin pan the store bought crust comes in can be a bit flimsy, if you want to make it easier to move the pie without having the pie tin bend and potentially crack the crust, just put the entire pie, tin and all, into a slightly larger ceramic or stoneware pie plate. I find it is best to do this before filling the crust.
Private Notes
Nutrition
Tried this recipe?
Let us know how it was!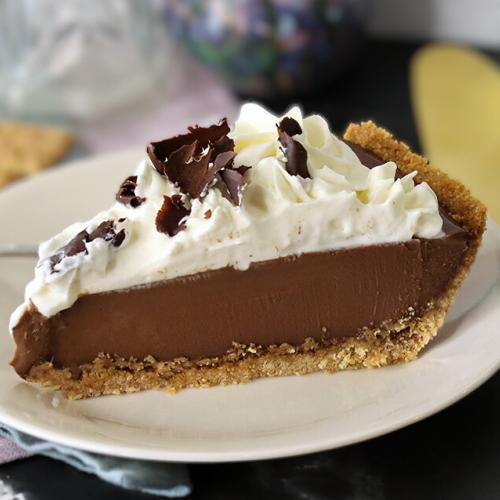
Chocolate Cream Pie (Homemade)
Equipment
Ingredients
Method
- Place the graham crackers, sugar, cornstarch, cinnamon and salt in a small food processor. Pulse until the ingredients are evenly combined and a fine crumb.150 g (1 ⅔ cups) graham crackers, 67 g (⅓ cups) sugar, 3 g (1 ½ tsp) cornstarch, 1 g (¼ tsp) 1/4 tsp cinnamon, Pinch of salt
- Add the butter, pulse until the mixture resembles wet, coarse sand.70 g (5 tbsp) butter
- Press the crust mixture into the bottom and up the sides of a 9 1/2” or 10" deep dish pie plate
- Bake at 350° F for 10 minutes, remove from the oven and brush lightly with the beaten egg white, return to the oven and bake for an additional 2 minutes to set the egg white (the egg white helps seal the crust and keep it from becoming soggy from contact with the custard filling, if you choose not to use the egg white, simply bake the crust for 12 minutes)1 egg white
- Place 960ml (or 4 cups) of the milk in a medium saucepan. Add 88g (or 7 tbsp) of sugar and bring the mixture to a boil.1080 ml (4 ½ cups) milk, 176 g (14 tbsp) sugar
- While the milk is heating, whisk the remaining 88g (or 7 tbsp) of sugar, cornstarch, cocoa and salt together in a medium bowl. Add the eggs and egg yolks and whisk to thoroughly combined. Add the remaining 120ml (1/2 cup) milk and whisk until fully incorporated.176 g (14 tbsp) sugar, 40 g (5 tbsp) cornstarch, 24 g (4 tbsp) cocoa powder, 3/4 tsp (¾ tsp) salt, 2 large eggs, 4 large egg yolks, 1080 ml (4 ½ cups) milk
- Temper the egg mixture by slowly and continuously whisking about 1 cup of the heated milk mixture into it.
- Slowly add the tempered egg mixture into the heated milk mixture in the saucepan, whisking continuously.
- Continue whisking and cooking the mixture until it thickens and you can see defined trails of the whisk through the mixture (5-10 minutes). The mixture should bubble a bit, but should not reach a full boil.
- Remove from the heat, add the melted chocolate, butter and vanilla. Blend with an immersion blender until the butter is fully melted and incorporated and the mixture is silky smooth.340 g (2 cups) bittersweet chocolate, 56 g (4 tbsp) unsalted butter, 15 ml (1 tbsp) vanilla extract
- Allow to cool slightly (about 5 minutes) stirring occasionally to prevent a skin from forming on the surface.
- Pour the custard into the crust – if you prefer to avoid a skin forming on the top, you can place a layer of plastic wrap directly on the surface.
- Refrigerate until set (at least 4 hours).
- Place 180ml (3/4 cup) whipping cream, the white chocolate and the salt in a microwave safe bowl or a double boiler. Heat, stirring frequently, until the white chocolate is completely melted forming a loose white chocolate ganache. If you're doing this in the microwave, use a built in chocolate melting setting, or heat in 30 second bursts stirring in between until the chocolate is completely melted.360 ml (1 ½ cups) whipping cream, 170 g (1 cups) white chocolate, pinch salt
- Cover the white chocolate ganache and chill overnight – the mixture will be soft and stir-able straight from the refrigerator.
- Using an electric mixer, beat the white chocolate ganache until it is light and fluffy – avoid over beating or the mixture may curdle or break.
- Pour the remaining 180ml (3/4 cup) of whipping cream into the whipped ganache and resume whipping (start low and work up to medium speed) until soft to medium peaks form.360 ml (1 ½ cups) whipping cream
- You can cover the entire top of the pie with the topping, or serve individual slices with a dollop of the topping. If you'd like, you can garnish with chocolate curls, shaving, or sprinkles.
Notes
- This pie can be a bit time consuming to make, although most of that is down time waiting for elements to chill. You can mitigate that by making some elements, like the crust and the white chocolate ganache, several days in advance if you like.
- I used a deep dish 10 inch pie plate for this recipe. However, “deep dish” is not a standardized size so the depth of these pie plates often varies from brand to brand. If your plate isn’t quite as deep as mine, or is 9 1/2 inch rather than 10 inch, you may have a little more filling than will fit. Simply pour this into a small ramekin and enjoy it on its own.