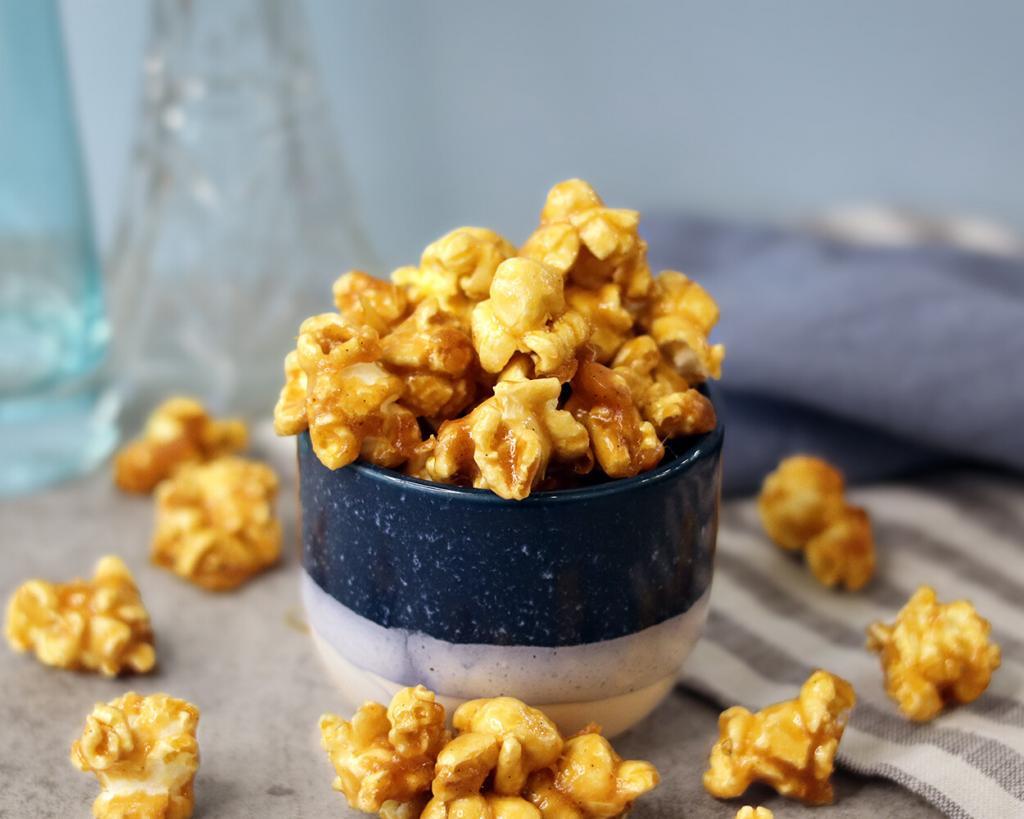
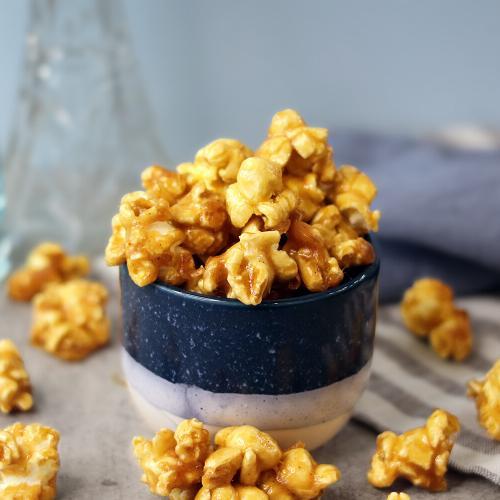
Mini Batch Caramel Corn
For anyone who grew up snacking on Cracker Jack, this caramel‑candy–coated popcorn is pure nostalgia. Like the original, my caramel corn uses a molasses‑based syrup that bakes into a light, crisp candy shell around tender, freshly popped kernels. I skipped the peanuts (I always ate around them anyway), but if you try this recipe, I think you’ll agree the flavor is spot on.
What’s funny is that I never set out to create a Cracker Jack copycat. I honestly hadn’t thought about Cracker Jack since childhood — middle school at the latest. But the moment I tasted the first test kernel, I was instantly transported back to opening that little box, crunching through the sweet caramel popcorn, and digging for the prize. Cracker Jack was wildly popular for over a century, from the 1870s through the 1990s, and still holds a nostalgic niche today making that flavor instantly recognizable.
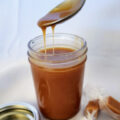
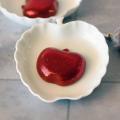
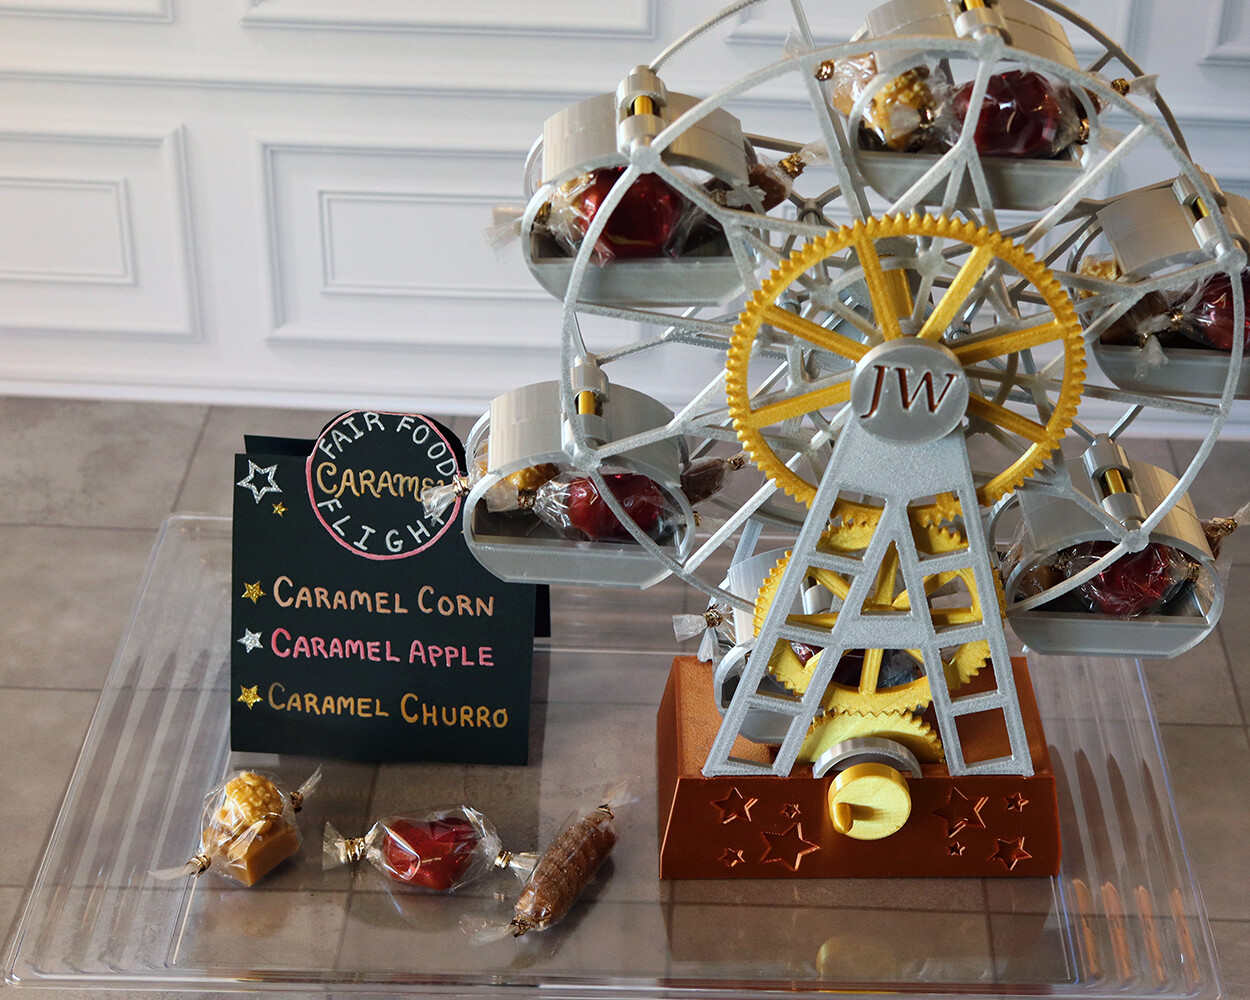
The actual goal for this recipe was much more practical: I needed a scaled‑down caramel popcorn to pair with the caramel popcorn caramel in my Fair Food Caramel Flight. I knew I’d be testing and retesting both the garnish and the base caramel, and most caramel popcorn recipes yield 10–12 cups. Even the “small batch” versions make about 8 cups. I needed fewer than a dozen perfect kernels — just enough to crown my caramels — not a full mixing bowl.
There’s a reason most recipes are high‑yield. Making less caramel means working with a smaller volume of syrup, and small‑batch caramel is notoriously finicky. Temperature changes happen fast, readings are harder to take accurately, and the margin for error shrinks. I knew I couldn’t scale down to a dozen kernels (and honestly didn’t want to — I wanted to be choosy about which ones made the final cut), so I aimed for a “mini” batch: roughly half of a typical small batch, about 4 cups.
My first attempt was discouraging. The flavor was wonderful, but the finish was dull, matte, and crystallized — not remotely fair‑worthy. I needed a glossy, eye‑catching sheen. To get there, I made a few key adjustments:
- A smaller saucepan (1 qt) gave the syrup more depth, slowed evaporation, and made temperature readings more reliable.
- Boiling with the lid on allowed steam to wash down the sides of the pan, reducing crystallization and further slowing evaporation.
- Switching to a Thermapen let me take quick, accurate readings without attaching a thermometer. I only needed a couple of seconds with the lid off to get a temperature reading.
- Reducing agitation was essential. After adding the baking soda, the syrup needs minimal stirring to stay aerated and crisp. The same is true during baking — just a gentle toss to separate kernels. Too much stirring encourages crystallization and dulls the finish.
With these adjustments, the second test batch was nearly perfect. I finally had the glossy, crisp caramel shell I needed for my fair entry — and, as a bonus, a deliciously addictive caramel corn recipe that makes just enough to satisfy the craving without leaving you buried in leftovers.
Mini Batch Caramel Corn
Equipment
Ingredients
Method
- Preheat oven to 225°F. Line sheet pan with parchment paper.
- Place the popcorn in a roasting pan or casserole dish – something large and deep enough to give you room to stir and coat the popcorn with the caramel syrup. Put the pan in the oven so the popcorn will be warm when mixing with the caramel syrup.40 g (2 tbsp) mushroom popcorn kernels
- In a small saucepan, combine the brown sugar, butter, both corn syrups, vanilla bean paste, molasses and salt. Cook over medium low heat until the syrup reaches 250°F.110 g (½ cup) brown sugar, 56 g (¼ cup) unsalted butter, 30 ml (2 tbsp) light corn syrup, 30 ml (2 tbsp) dark corn syrup, 10 ml (2 tsp) vanilla bean paste, 5 ml (1 tsp) molasses, 3 g (½ tsp) vanilla salt
- Remove the pan from the heat, add the baking soda and stir quickly to combine (the mixture will fizz and bubble, you don’t want to deflate the mixture so do not overmix)1/8 tsp (⅛ tsp) baking soda
- Immediately pour the caramel syrup over the warmed popcorn. Use a flexible spatula to fold and stir the popcorn until it is evenly coated with the caramel syrup.
- Spread the caramel popcorn out on the sheet pan. Put it in the oven for about 10 minutes, stir gently to redistribute the mixture and separate the kernels, return to the oven for 15 minutes, stir gently again and return to the oven for a final 15 minutes. Sprinkle with additional salt if desired, stir to distribute. Remove from the oven and let cool. Once cool, you can gently break up any remaining clumps. Store in an airtight container at room temperature.
Notes
- If you are using US customary measurements, the 2 tbsp of popcorn kernels refers to the un-popped kernels, it would be ~4 cups of already popped popcorn.
- For a dairy free version, simply swap the unsalted butter for your favorite vegan butter sticks. If your vegan butter is salted, reduce the salt in the caramel syrup slightly – about 1/3 should be good, but “to taste” is generally the best advice.