Cocoa Angel Food Cake
If you ask most people to describe angel food cake, I’m sure “white” or “vanilla” would show up somewhere in that description. But what if I told you that you could have all the pillowy, marshmallow‑like texture of angel food cake with rich chocolate flavor? That’s exactly what this recipe delivers – which makes it my favorite angel food cake.
I’ve had a chocolate angel food cake recipe in my binder for at least ten years — just a simple printout with a title, ingredients, and instructions, no clue where it originally came from. It was good. It worked well enough. That is, until I got my hands on my mother’s Angel Food Cake recipe.
I love the exceptionally tall, show‑stopping appearance of Mom’s cake. It’s the epitome of what everyone pictures (but doesn’t always get) when they think of angel food cake — exactly what I wanted for my cocoa version. I also realized that the addition of powdered sugar sifted with the flour in her recipe created a more stable foam than recipes using only granulated sugar. That stability was exactly what I needed for a cocoa version, where even the tiny amount of fat in cocoa powder can quickly deflate the meringue.
In the end, I merged the two recipes and created what is now my new favorite chocolate angel food cake.
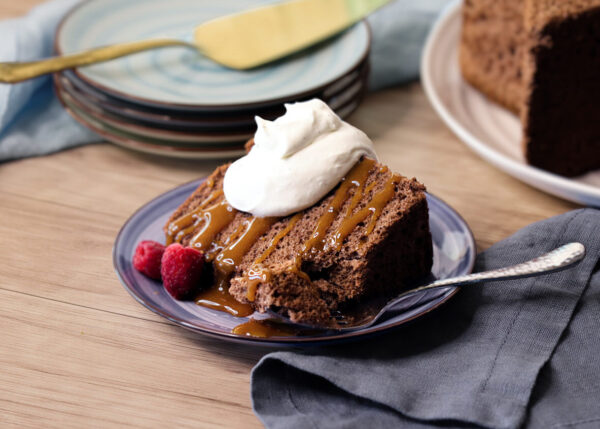
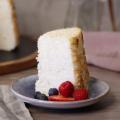
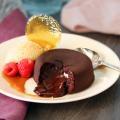
Since this cake already has amazing chocolate flavor, my favorite way to enjoy it is with a drizzle of thick, buttery caramel sauce and a dollop of lightly sweetened vanilla chantilly cream (as pictured above). But sometimes you want something extra special — over‑the‑top and truly indulgent. Yes, an angel food cake can be indulgent.
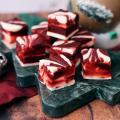
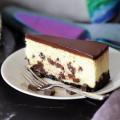
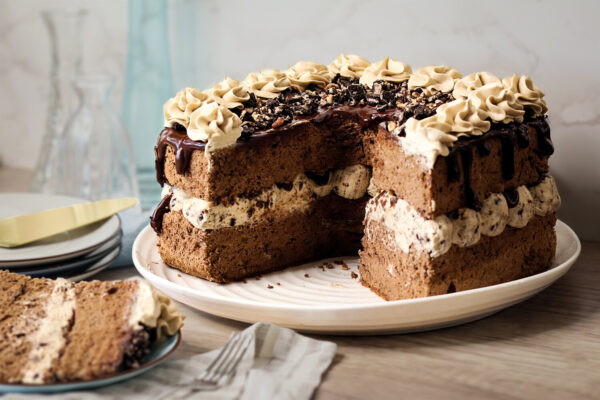
That’s when I decided to give my cocoa angel food cake a Mississippi Mud Pie glam‑up. I split the cake into soft, pillowy layers and sandwiched them around a silky cookies‑and‑cream whipped espresso mascarpone cream, a sprinkling of toasted pecans, and a drizzle of rich chocolate ganache. Then I topped it with more ganache, more cream, more crushed cookies, and more toasted pecans. The cream was light enough not to weigh down the cake, and the ganache added that decadent finishing touch.
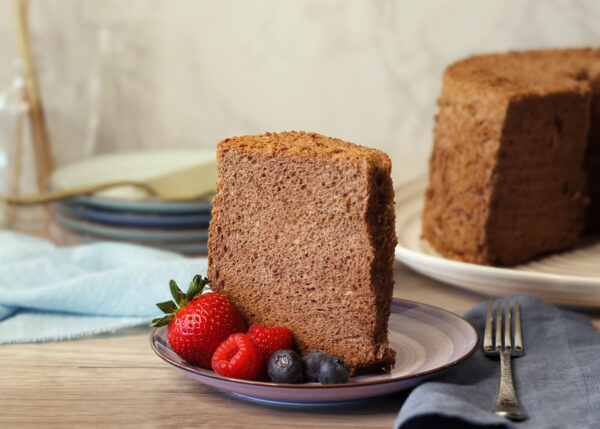
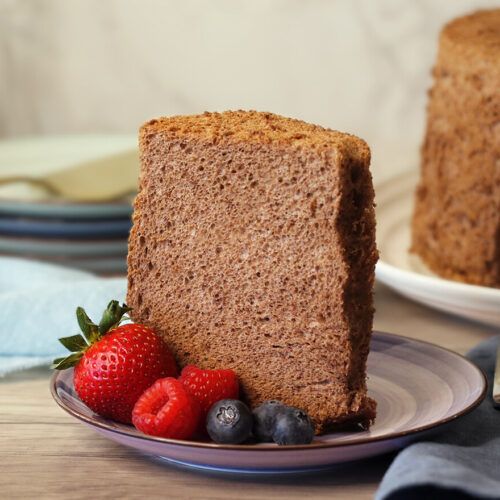
For all my fellow chocolate lovers — this is the angel food cake for you. Tall, fluffy, and indisputably chocolate, it’s wonderful as a plain slice or dressed up with your favorite toppings. Next time you’re thinking about baking an angel food cake, I encourage you to try this cocoa version instead.
Cocoa Angel Food Cake
Equipment
Ingredients
Method
- Adjust oven rack to the middle low position and preheat to 350°F.
- Dissolve the espresso powder into the vanilla extract in a very small bowl. Set aside.15 ml (1 tbsp) vanilla extract, 1/2 tsp (½ tsp) espresso powder
- Combine the cake flour, powdered sugar and cocoa, sift two times; set aside.95 g (¾ cup) cake flour, 60 g (½ cup) powdered sugar, 30 g (5 tbsp) cocoa powder
- Combine egg whites and sugar in the bowl of a stand mixer fitted with the whisk attachment. Mix on low to loosen, about 1 minute, then Increase to medium-low and whip 3 minutes; the whites will be dense and dark.540 g (2 ¼ cups) egg whites, 300 g (1 ½ cups) granulated sugar
- With the mixer still running, add cream of tartar and salt. Immediately increase to medium and whip 3 minutes more; the meringue will be thin but foamy. Increase to medium-high and continue whipping until the meringue is glossy white and holds a medium firm peak.2 tsp cream of tartar, 1 g (¼ teaspoon) salt
- Add the espresso vanilla mixture and beat to combine. Sift the cake flour mixture on top and continue folding until the mixture is a uniform chocolate color and no pockets of dry ingredients remain.
- Scrape the batter into a 10-inch aluminum tube pan (do not butter or grease pan); if you notice any small pockets of unincorporated flour mixture, simply pause to mix them in. Gently run a thin knife through the batter in a zigzag pattern to release any large air pockets. Bake until the cake is puffed, cracked on top, and firm to the touch, about 40-45 minutes, or to an internal temperature of 206°F.
- Invert the pan onto its stilts or put the opening of the center tube on a bottle so the pan is upside down. Cool upside down until absolutely no trace of warmth remains, at least 2 hours. Slide an offset spatula around the sides of the cake to loosen, lift the cake and insert out of the pan and slide a spatula under the bottom of the cake as well. Flip it onto a serving plate, lift the base and center tube gently away from the cake. To serve, cut with a large serrated knife, using a gentle sawing motion and only the slightest downward pressure.
Notes
- Use a very large bowl – at least 6qt, 8qt if you have it available (or consider scaling the recipe down).
- Wipe the whisk attachment and mixing bowl with a little bit of lemon juice to remove traces of fat.
- Use a small bowl for separating each egg to avoid contaminating the larger mixing bowl if a yolk breaks
- Add ingredients to the meringue gradually to avoid deflating the foam structure
- Don’t skip the upside down cooling step to ensure the best height for your cake
- Cocoa powder contains a small amount of fat, and even that tiny bit can weaken the egg‑white protein structure. Once you add the cocoa mixture, work quickly and gently to distribute it through the meringue. Avoid trying to achieve a perfectly uniform blend — it’s better to stop early and incorporate any remaining dry pockets as you transfer the batter to the pan than to overmix and deflate your egg whites.• You can use your favorite cocoa powder for this recipe. Since there’s no chemical leavener involved, cocoa choice is almost entirely about flavor. However, if you’re using a Dutch‑processed cocoa and notice your meringue collapsing more than expected or the cake rising less than usual, try switching to a natural cocoa powder — they tend to be a bit lighter. I used Cacao Barry Extra Brute (Dutch‑processed) because I love its intense, deep chocolate flavor.