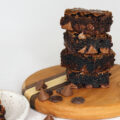
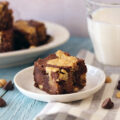
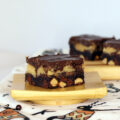
Classic Brownie for One
When I most recently lost the database behind my site, I discovered that some of my recipes had not been saved anywhere else leaving me no choice but to try to recreate them. This single serving brownie recipe was one of the ones that was lost. I’m not certain that this recreation is identical to the previous version, but I am certain that it is delicious and the perfect size to satisfy any chocoholic’s fudgy brownie craving.
Most single serving brownie recipes have ingredient ratios that would look pretty odd to anyone who has spent any time baking. Typically much higher amounts of egg (or no egg – is that even really a brownie?). Sometimes you’ll see increased amounts of fats, or sugars, or flour to try to compensate for the drastic changes in the amount of egg. The resultant products are usually a distant cousin to a brownie, at best. On top of the ingredient ratio changes, most of these recipes also recommend baking in the microwave. While I can’t dispute the convenience, I can tell you that you will never achieve the correct brownie texture in the microwave.
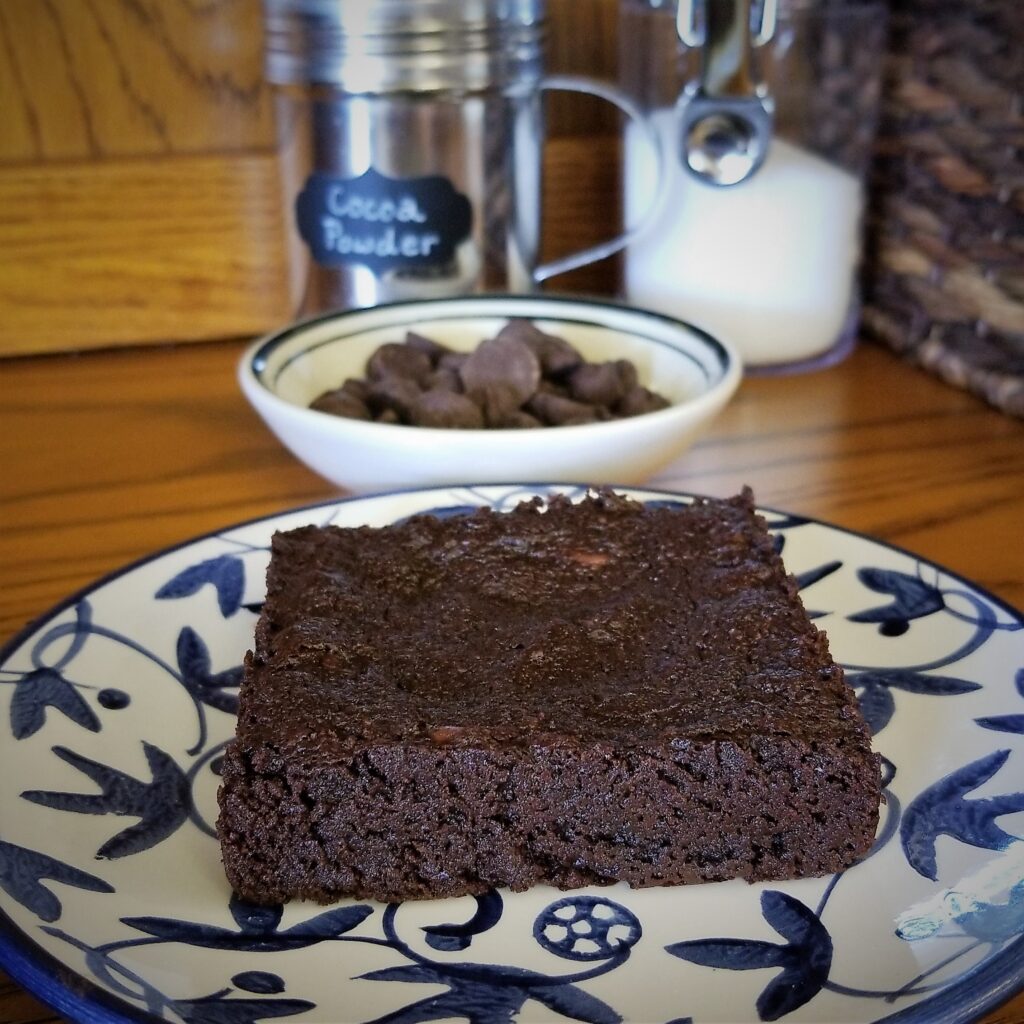
This recipe is actually a pared down version of my favorite brownie base recipe. It includes all of the same ingredients (in tiny amounts) and the same preparation method. That does make it a bit “fussier” than some other single serving dessert recipes out there, but I think it is well worth the (IMO, minimal) effort to enjoy a single serving dessert that ticks all the brownie boxes:
- Glossy, crackly top
- Chewy edges
- Fudgy center
- Intense chocolate flavor
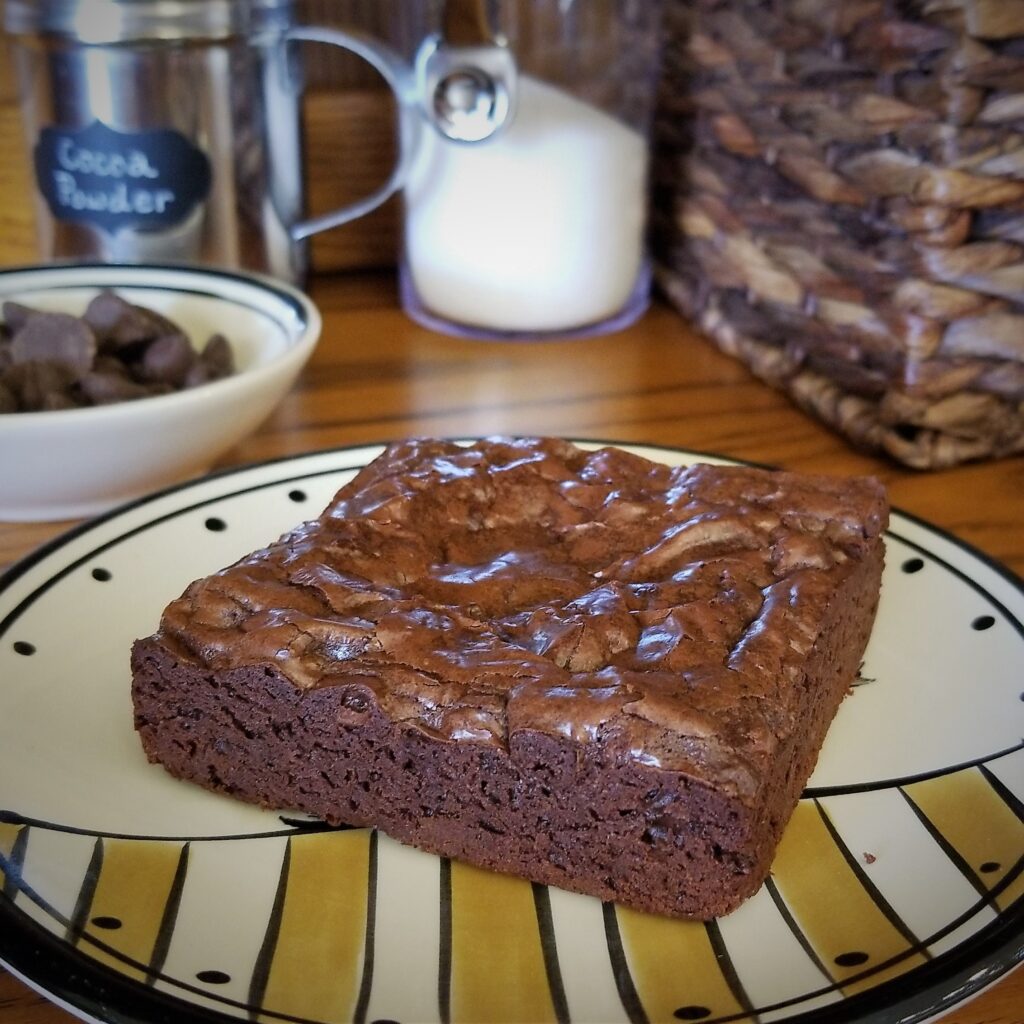
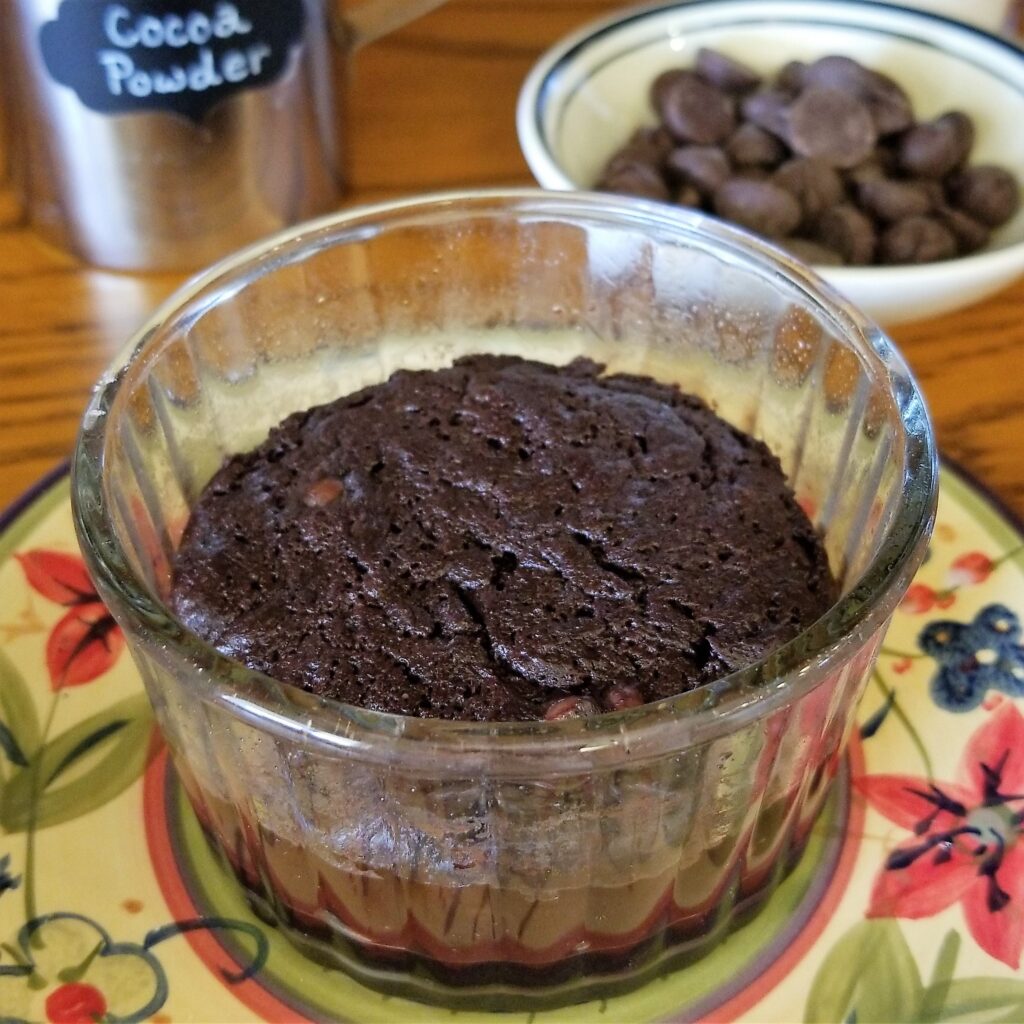
I have tested this recipe in round and square metal pans, glass ramekins and mini cast iron skillets in the oven. All of these baking vessels work, but I think the mini cast iron skillet provides the best over-all texture. I would not use anything larger than 4 inches as the brownie will start to get very thin and it is easy to overbake at that point.
Although I said previously that you will never get the correct texture in the microwave, I did test this recipe in a glass ramekin in the microwave. While this does technically work and delivers a quick chocolate fix, you lose the glossy top and the texture really is off. If you are inclined to try, start with 45 seconds and add 5-10 seconds at a time until the top is dry, or has one or two small damp spots. You do not want to over do this, it will get dry and tough.
If you would prefer to use more of a single bowl approach, it can be done, but be aware that you are sacrificing the classic glossy crust on the top of your brownie. Start with melting the butter, chocolate and espresso powder together as in the original recipe. Immediately whisk in the sugars until thoroughly combined – you want the chocolate/butter mixture to be hot enough to dissolve the sugars if possible (this doesn’t really work all that well in these very small ratios). Then whisk in the egg and vanilla. Finally stir in the flour, cocoa and salt (and any mix-ins you might be using). Bake according to the original instructions. When using this method, as long as your mixing vessel is both microwave and oven safe, you can avoid dirtying any additional bowls or pans (but be aware that you may not be able to cleanly remove the brownie from the vessel – no worries, just top with some ice cream and the dessert sauce of your choice and enjoy right from baking dish!).
I hope I’ve inspired you to take just a little bit of extra time and care in preparing your dessert, even if you’re only making that dessert for an audience of one. I promise, you won’t regret it!

Classic Brownie for One
Equipment
Ingredients
Method
- Preheat your oven to 350° F. Butter a small (3 to 4 inch) square baking pan or similarly sized oven safe ramekin and set aside.
- Place the butter, chopped chocolate and espresso powder in a small microwave safe bowl. Heat in 20 second increments, stirring in between, until fully melted and smooth.14 gram butter, 28 gram chocolate, pinch espresso powder
- In another small bowl, whisk together the egg, both sugars and vanilla extract until the sugars have dissolved and the mixture has lightened.18 gram beaten egg, 10 gram sugar, 12 gram brown sugar, 1/8 teaspoon vanilla extract
- Add the chocolate mixture to the egg mixture and stir to combine.
- Add the flour, cocoa powder and salt to the mixture and stir just until combined.10 gram flour, 1 gram cocoa powder, pinch salt
- If using the mini chocolate chips, gently fold them in.5 gram mini chocolate chips
- Scrape the batter into the prepared pan and smooth the top. Place in the pre-heated oven and bake for about 10 minutes. The top should have a glossy finish and the edges should be set.
- To serve warm, allow to cool slightly before gently removing from the pan. Otherwise, allow to cool fully before removing from the pan.