Marshmallow Crème
Anyone who grew up in New England definitely knows the sticky, creamy magic that is “Fluff”. It is the essence of the gooey, melty center of a toasted marshmallow captured at its peak and tucked into a jar. Yet, for all its sweet, nostalgic perfection, commercial marshmallow fluff has one major flaw – at least when it comes to baking. It simply won’t stay where you put it.
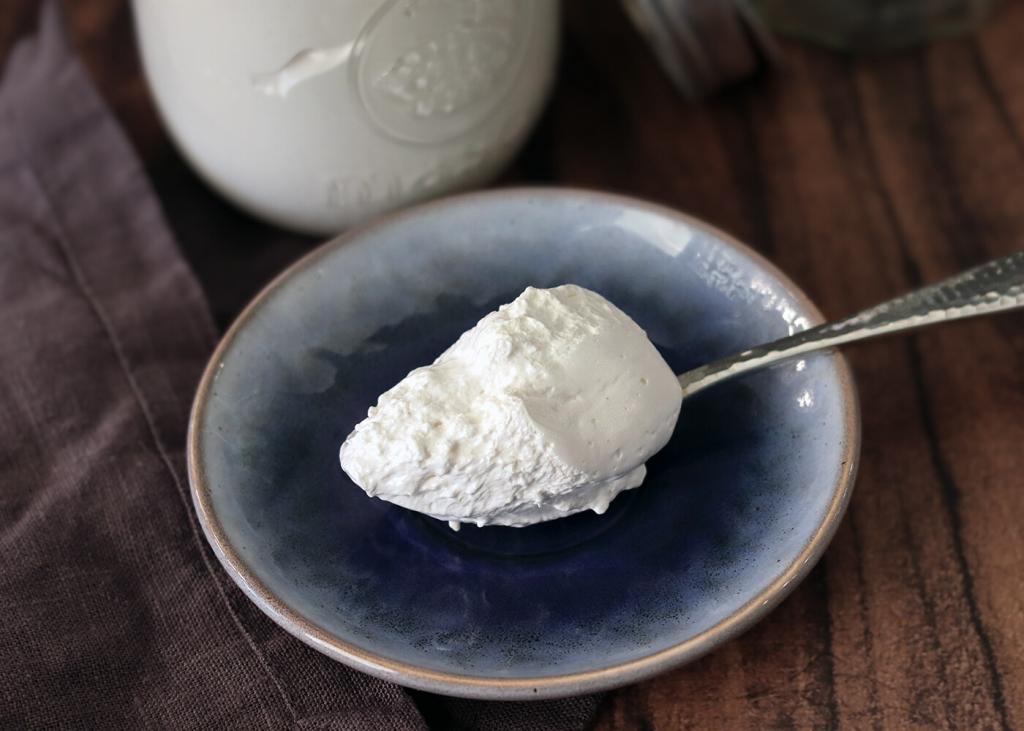
This recipe aims to preserve all the gooey glory of our childhood memories while fixing that one fatal issue. This homemade marshmallow crème holds its shape beautifully, stays exactly where you spread or pipe it and doesn’t weep or separate…even after several days. It is creamy, sticky, vanilla-sweet goodness that is stable enough for brownies, bars, cakes and fillings but still soft, spoon-able and absolutely worthy of a Fluffernutter (or eating straight off the spoon – no judgement).
I grew up on Fluffernutter sandwiches. That sweet marshmallow meets salty peanut butter is pure childhood lunchbox nostalgia for me (much to my children’s confusion since I’ve never let them have marshmallow fluff for lunch). So any recipe that leans into that flavor pairing gets an automatic spot on my “must try” list. However, problems start when a recipe calls for using unaltered fluff as a filling or topping.
Picture a layered cake with a marshmallow crème filling or brownies topped with a beautifully swirled layer of fluff and peanut butter. You cut the first piece – it’s gorgeous, gooey, perfect. Then you come back the next day only to discover that the once-beautiful layer has oozed into the empty space leaving only a thin, forlorn smear behind.
That’s exactly where this recipe shines. A small amount of gelatin stabilizes the marshmallow crème so it stays put – whether piped, swirled, layered or spread – without turning chewy or altering the classic sticky, creamy texture we all expect and love. It also makes this recipe incredibly make-ahead friendly: it won’t deflate, weep or separate even after several days.
So the next time a recipe calls for marshmallow crème, do yourself a favor. Skip the store-bought jar and make this recipe instead. No sliding, no melting, no messy surprises – just perfectly fluffy, vanilla-forward marshmallow crème that behaves (and tastes) exactly the way you want it to.

Equipment
Ingredients
Method
- In a medium heavy‑bottomed saucepan, combine the sugar, corn syrup, water, and salt. Heat over medium‑low until the mixture reaches 240°F.150 g (¾ cup) sugar, 180 ml (¾ cup) corn syrup, 60 ml (¼ cup) water, 1/4 tsp (¼ tsp) salt
- While the syrup heats, add the egg whites and cream of tartar to a large mixing bowl. Using an electric mixer fitted with a whisk attachment (a hand mixer works well so you can stay close to the stove), beat the whites to medium peaks.2 large egg whites, 1/4 tsp (¼ tsp) cream of tartar
- Once the syrup reaches temperature, reduce the mixer speed to low. Slowly stream the hot syrup into the egg whites, taking care not to hit the whisk — the syrup can splatter and cause burns.
- Melt the bloomed gelatin (about 10 seconds in the microwave). With the mixer still running on low, slowly pour the melted gelatin into the meringue.1 1/2 (1 ½) sheets gold leaf gelatin
- Increase the mixer speed to high and beat until the mixture becomes thick, glossy, bright white, and has cooled to about room temperature. This typically takes about 10 minutes.
- Beat in the vanilla until fully incorporated.10 ml (2 tsp) vanilla bean paste
- Use the marshmallow crème immediately, or transfer it to a jar for later use. Yields about 4 cups of marshmallow crème (465g [16oz]).
