Peanut Butter Party Pie
Home cooks have been pairing peanut butter with chocolate for over a century and H.B. Reese cemented their fame with his invention and the commercial release of the Reese’s Peanut Butter cup in the 1920s. However, peanut butter pies — with or without chocolate — didn’t truly take off until a few decades later in the 1950s.
Icebox pies had existed since the 1930’s, but the decades spanning the ’50s though the ’70s were their golden age. Refrigerators had become standard in most American homes, convenience food brands were enthusiastically promoting no-bake desserts, and home cooks loved the ease and flexibility of a chilled pie or cake. The result was an explosion of flavor combinations and textures – including plenty of peanut butter-meets-chocolate creations.
I think the appeal of a no-bake, make-ahead, chilled dessert is still relevant in today’s busy world. That’s why you will find so many variations of peanut butter pies out there – but I think you will agree that this Peanut Butter Party Pie pulls out all the stops. It honors its mid-twentieth century icebox roots while delivering a more elevated, indulgent and frankly over-the-top dessert experience. A party, if you will.
This pie has been years in the making – largely because of the time I spent refining the Peanut Butter Mousse filling. As I mentioned in my previous post, I’m not the biggest fan of a cream-cheese-based peanut butter mousse, especially in a deep-dish pie. I won’t rehash the whole saga, but suffice it to say: there is no cream cheese in this recipe. The peanut butter flavor is big and bold, and the texture is silky, creamy and ethereal.
The toppings have evolved over the years as well. The ganache has always been a constant, but the decorative elements have shifted. My younger son was partial to mini M&Ms on top — and while they do add a splash of color and a bit of crunch, I can’t recommend them unless the pie will be eaten immediately. The colors tends to bleed, leaving pale lumps amongst small halos of color over the surface of the pie.
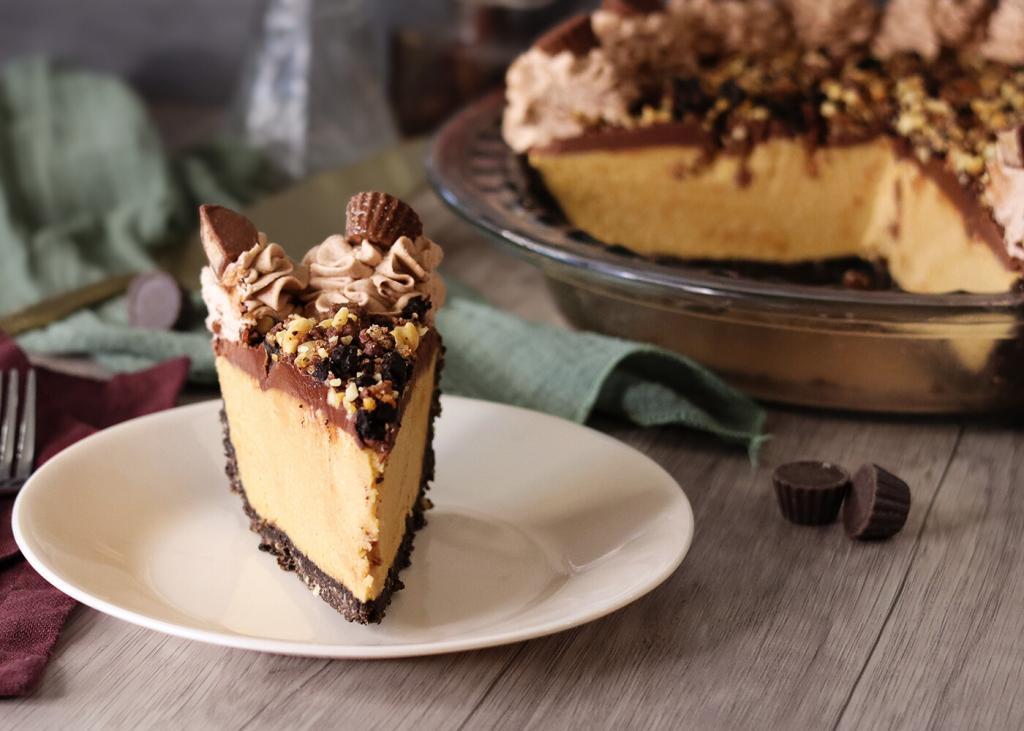
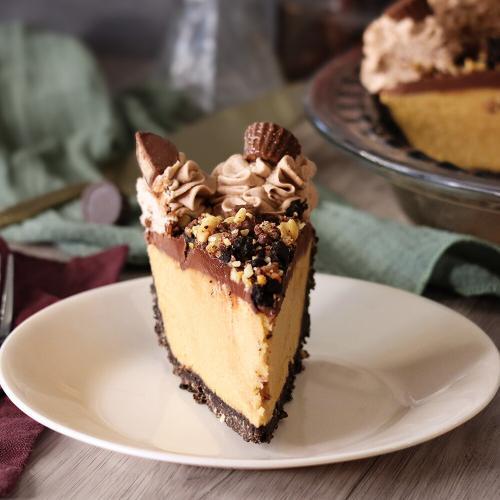
Eventually, I landed on the mix of peanuts, Oreos and peanut butter cups. The crumble not only looks beautiful, but it reinforces the the chocolate and peanut butter theme and adds a welcome crunch to contrast with all that silky smooth filling. The finishing touch is a border of chocolate peanut butter whipped cream. Many classic icebox pies are topped with whipped cream, so it is another nod to the pie’s roots. The lighter color of the whipped cream contrasts beautifully against the deep chocolate ganache without being as stark as the white of a traditional whipped cream and it adds one more layer of flavor. Why pass up that opportunity?
I truly believe — and my family will wholeheartedly back me up — that this is the pinnacle of peanut butter pies. Every element has been tested, refined, and intentionally chosen. Together, they create a dessert that is indulgent, nostalgic, joyful, and absolutely worthy of its name: a party in a pie plate.
Equipment
Ingredients
Method
- Preheat the oven to 350°F.
- In a food processor, pulse the Oreos, sugar and salt into fine crumbs. Add the butter; pulse until fully combined and beginning to clump together. Transfer the mixture into an ungreased 9 1/2 or 10-inch deep dish pie plate.20 whole Oreo cookies, 1/4 cup (50 g) sugar, 1/4 tsp (¼ tsp) salt, 5 tbsp (70 g) unsalted butter
- Press the crumb mixture evenly into the bottom and up the sides of the pan.
- Bake for 10 – 12 minutes. Allow to cool as you prepare the filling.
- Make the
Peanut Butter Mousse according to the recipe instructions. - Spread the entire batch of peanut butter mousse into the cooled crust. Cover with plastic wrap lightly touching the surface of the mousse and refrigerate until set (at least 1 – 2 hours – or this can be done 1-2 days ahead of time).42 oz (1200 g) Peanut Butter Mousse
- Place the chopped chocolate in a medium heat-proof bowl. Heat the cream in a small saucepan over medium heat just to a simmer. Immediately pour the hot cream over the chocolate. Let sit for 2–3 minutes, then stir gently until the ganache is smooth. Set aside at room temperature and allow to cool and thicken.6 ounces (170 g) dark chocolate, 3/4 cup (180 ml) heavy cream
- Coarsely chop the peanuts, peanut butter cups and Oreo cookies so all the bits are roughly the same size. You can use a small food chopper/processor but be careful not to over process.3/4 oz (22 g) roasted peanuts, 1 1/2 oz (43 g) peanut butter cups, 1 1/2 oz (43 g) peanut butter Oreos
- Pour the chocolate ganache over the top of the chilled filling, make sure to spread it all the way to the edges. Immediately sprinkle the crunch topping evenly over the surface to within about an inch of the edge. Return the pie to the refrigerator while you make the chocolate peanut butter whipped cream.
- Place the peanut butter baking chips and the milk chocolate chips in a medium heat proof bowl.1 1/2 oz (43 g) peanut butter baking chips, 1 1/2 oz (43 g) milk chocolate chips
- In a small saucepan, heat half of the heavy cream just to simmering, pour it over the chips in the bowl and let sit for about 2-3 minutes. Stir gently until the chips are all melted and the mixture is a smooth, even texture and color. Cover and refrigerate until cold.5 oz (142 g) heavy whipping cream
- In a medium mixing bowl, whip the remaining heavy cream just until it starts to thicken and mound up a bit around the beaters.5 oz (142 g) heavy whipping cream
- Remove the chocolate peanut butter cream mixture from the refrigerator. With the mixer running on low speed, slowly add the cold chocolate peanut butter cream mixture. Once it has all been added, increase the mixer speed to medium and continue to whip until it forms medium to firm peaks – just enough to hold shape and definition when piped.
- Transfer the whipped cream to a piping bag fitted with a large star tip (open or closed). Pipe a decorative border of whipped cream around the edge of the pie. If you'd like, garnish the whipped cream with mini or quartered peanut butter cups.peanut butter cups (mini or quartered)
- Chill the pie in the refrigerator for at least 6 hours (preferably over night). Slice and serve cold. Cover any leftover pie and store in the refrigerator.
